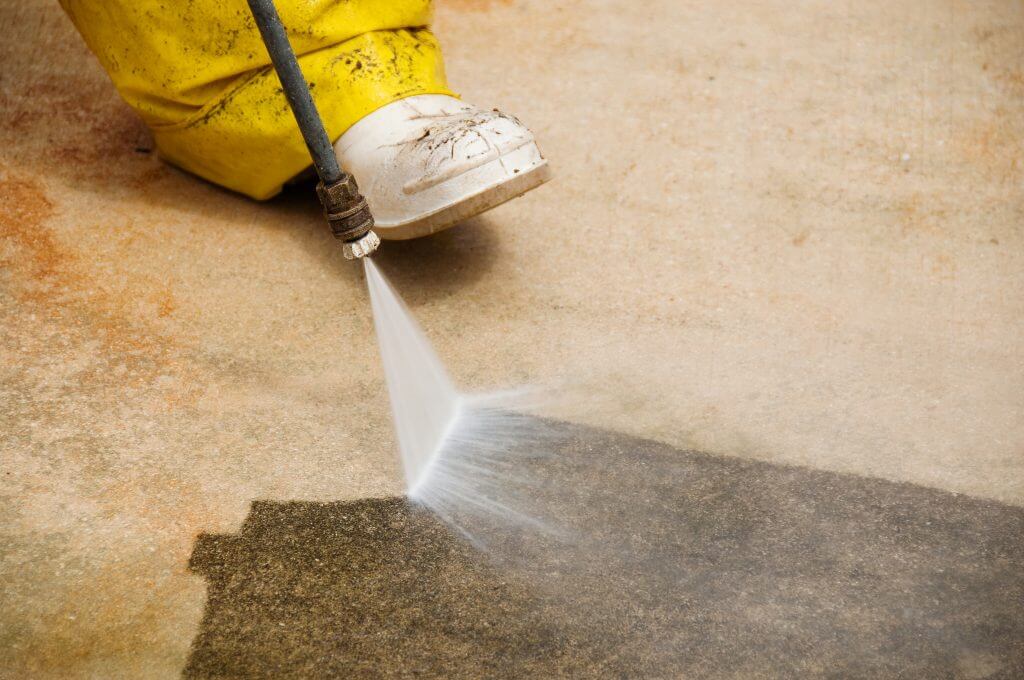
The driveway is undeniably an important part of your property. Keeping it clean will not only make your place look better, but it will also help maintain your driveway and make it safer for use.
To pressure clean your driveway, you will need a washer detergent, degreaser, and a pressure washer with 2000 psi or more. 1000 psi will do, but it could take more time and work. Clear the area of large debris, pots, and yard decorations. Cover nearby plants to protect them from the chemicals. Do not forget to wear PPE to prevent injuries.

Steps to Pressure Clean a Driveway
Materials
- Push broom
- Pressure washer
- Washer detergent
- Degreaser
- Tarp or plastic to cover your plants
- Personal protective equipment (PPE): goggles, gloves, ear protection, mask with air filter
- Sealer and roller applicator
Step 1 – Clear the Area
Make sure that there are no large things or debris in the area you will clean.
Remove pots or other decorations. Make sure to put kids’ and pets’ toys away from the area.
Sweep the driveway using a push broom to clear large debris like rocks, sticks, and others.
Step 2 – Cover Your Plants
Cover the plants near the driveway to keep them from getting sprayed on, especially with the detergent and degreaser. These products are harmful to your plants.
You can use plastic sheets or tarp. Carefully drape them over your plants, checking all sides to make sure that it will not get wet with the products you will use.
If you have a lawn nearby, you can also cover the grass with plastic or tarp and seal it with a painter’s tape.
Step 3 – Practice Safety
Before you start washing, put on your PPE or personal protective equipment.
Make sure that you have them on correctly to protect yourself from debris and chemicals as you wash your driveway.
Put on goggles to keep your eyes safe, and wear filtered masks to avoid inhalation of the chemicals.
Wear gloves, rubber boots and pants to keep the chemicals from having contact with your skin.
Step 4 – Degrease
The next step is to degrease the driveway.
This is a crucial step because the grease from your vehicles accumulates on the concrete or pavers and could prevent the washing detergent from working properly.
Follow the instructions and safety precautions on the degreaser.
Some washers have attachments for degreasers, probably the same as the one you will use for soap. Read the manual on your machine and apply accordingly.
If your washer does not have that kind of attachment, you can use a push broom with stiff bristles to spread and apply the degreaser.
Vigorously work the degreaser especially on spots with the most oil and grease stains.
*Ignore this part if you are using a product with combined detergent and degreaser.
Step 5 – Prepare Your Pressure Washer
After the degreaser does its job, prepare your pressure washer and detergent.
Consult the washer manual and carefully follow how to use the detergent on it, and which settings and attachments to use.
Make sure that your washer is connected to the water and power source.
If you are using a washer with hose and wand, you will need to use a nozzle with a broader spray.
Note: do not use a zero degrees nozzle for regular cleaning as it could damage your driveway.
A pressure washer with a surface cleaner will work better and faster than a wand attachment.
Step 6 – Start Washing
With your PPE on and pressure washer ready, start cleaning your driveway.
Start from the most elevated part of the driveway so that the water and detergent flow down to the other areas as you clean.
Do it in rows to make sure that you clean evenly.
Slightly overlap from the previously washed row, but make sure not to overlap too much as it will waste more water and detergent. Too much overlap could also make the result less even.
Step 7 – Rinse Off
After washing your driveway with detergent, rinse it off with clean water.
You may need to change your pressure washer attachments and settings for this, so consult the user manual.
Just as you did when washing with detergent, start from the same area.
Slightly overlap to make sure that all areas are rinsed and free from detergent, as detergent residue will make concrete sealers less effective.
Keep washing until you no longer see detergent bubbles and the water runs clear.
Step 8 – Apply Sealer for Driveway
If you cleaned heavily and deeply, you might need to apply a sealer.
Whether your driveway is concrete or paved, the sealer will protect it from future wear and tear.
Wait for the driveway to completely dry and use a paint roller to coat the whole driveway with a sealer evenly.
You can also use a pressure cleaner with a wand attachment for this. Consult with the manual to know which nozzle you need to use.
Take care to put a sufficient and even coat. If you apply the sealer too thinly, it might not do its job correctly and will be a waste of money.
After the application of the sealer, wait 24 hours before using your driveway.
Step 9 – Remove Tarps and Put Things Back in Place
Once finished with pressure cleaning your driveway, remove all the covers from your plants and lawn.
Place back the pots and yard decorations you removed before cleaning.
Now step back and enjoy your clean driveway!
If you need help cleaning your driveway, contact Harwood’s Garden Supplies Today. We can have your driveway cleaned in 5 hours or less. More information about our pressure cleaning service here.
[elementor-template id=”5226″]
